Code Snippets in Visual Studio
In Visual Studio there are the so called code snippets, which write a block of code by using a code template. For example, by writing the short code “cw” and then pressing [Tab] + [Tab] the
Console.WriteLine();
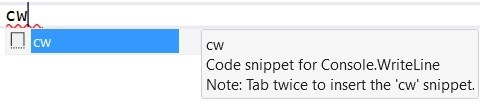
code is generated in the body of our program, in the place of the short code. This is called “unfolding a code snippet”. The “for” + [Tab] + [Tab] snippet works in the same way. On the figure below you can see the “cw” snippet in action:
Creating Your Own Code Snippet
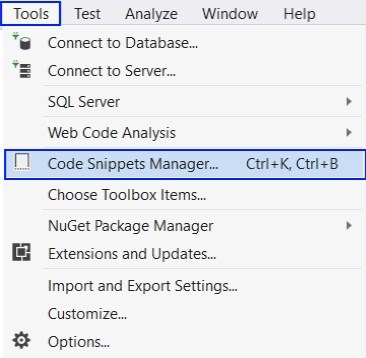
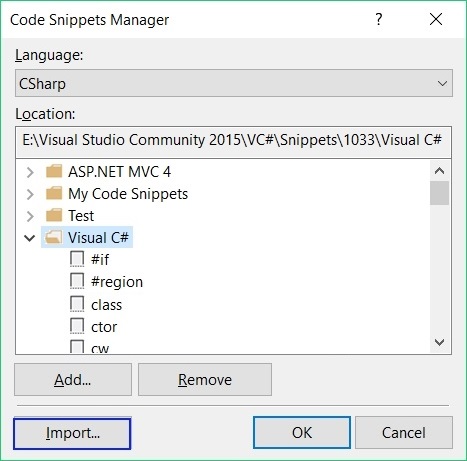
In this section we are going to show you how to make your own code snippet. We will see how to make a code snippet for Console.ReadLine(). In order to begin we must create a new empty project in Visual Studio and go to [Tools -> Code Snippets Manager], as shown on the picture:
Exploring the Existing C# Code Snippets
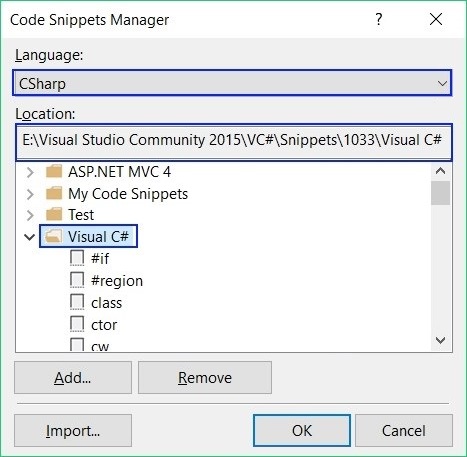
In the window that we opened we must choose Language -> CSharp, and from the section Locations -> Visual C#. This is where all the existing snippets for C# are located:
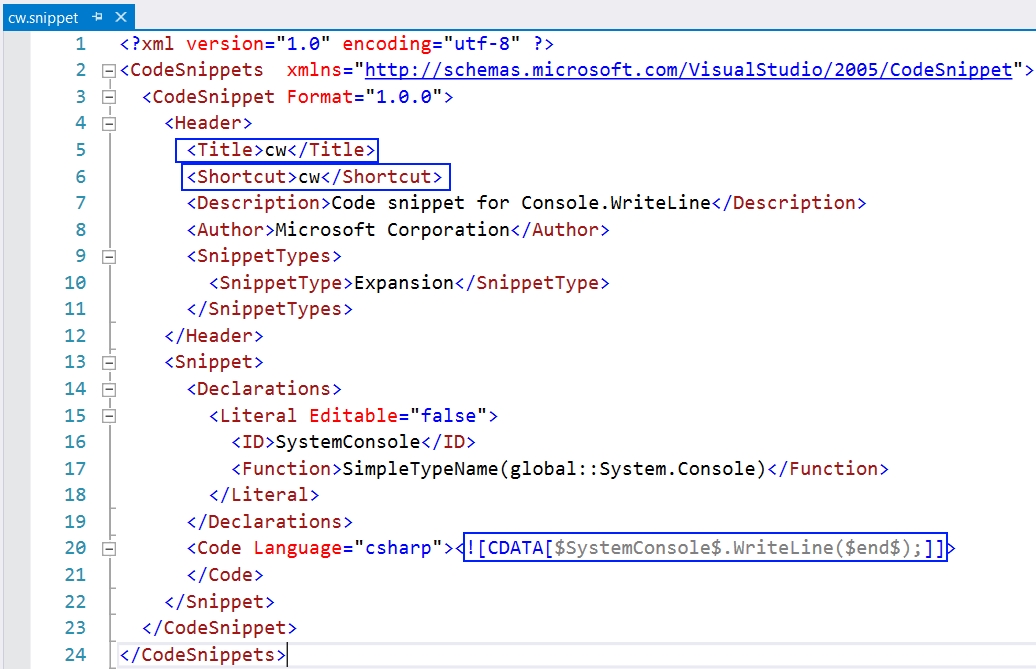
We choose a snippet, for example cw, we take the path to its file and open it in Visual Studio:
We see many things we haven't seen yet, but don't worry, we will become acquainted with them later.
Changing an Existing Snippet
To create a new snipped, we shall take an existing snipped, modify it and save it in a new snipped file.
We have to focus on the part <Title></Title>, <Shortcut></Shortcut> and the code between CDATA[].
- Firstly, we will change the title in
<Title></Title>and in the place ofcwwe will writecr, as this will be the title of our snippet. - After that, in the section
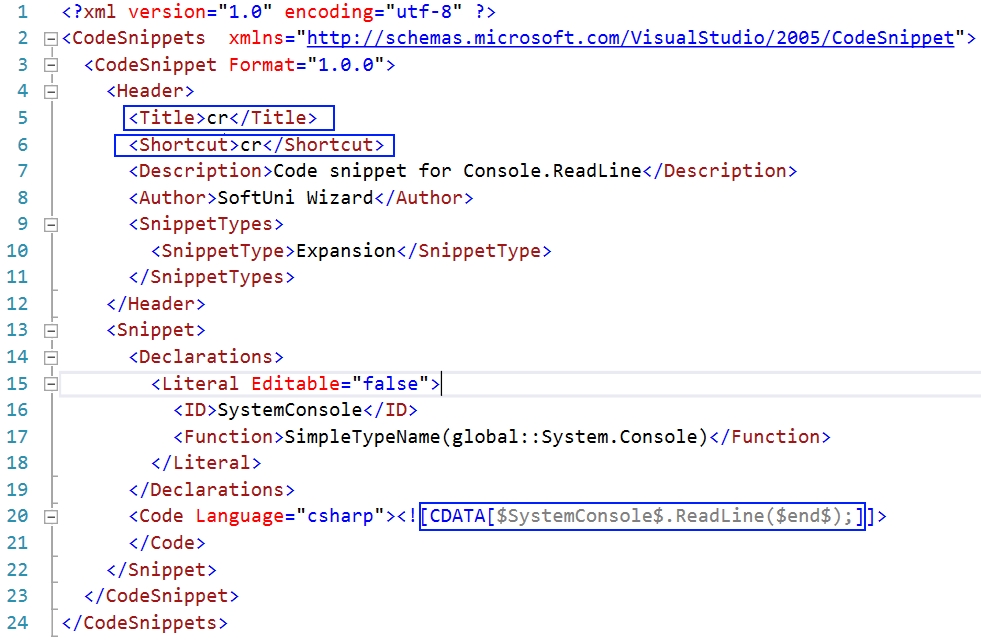
<Shortcut></Shortcut>, we will change what we have to write to call our snippet (the shortcut) fromcwtocr. - Finally, we need to change the code in
CDATA[], fromWriteLinetoReadLine:CDATA[$SystemConsole$.ReadLine($end$);]. - If you wish, you can change the sections
<Description></Description>and<Author></Author>.
The changed file, after all described modifications, should look like this:
Saving and Testing the Code Snippet
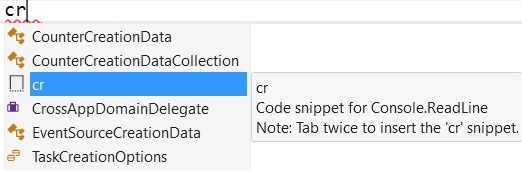
After we have written our snippet, we should save the file in format snippetName.snippet (in this case cr.snippet) and add it to Visual Studio. Go to [Tools] -> [Code Snippet Manager] -> [Import] and choose the cr.snippet file that we have created:

Now when we write “cr” and press [Tab] twice in Visual Studio, our new snippet will appear, as it is shown in the screenshot below: